Chocolate Ganache Cheesecake
This post may contain affiliate links. See our discloure policy.
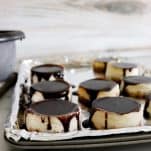
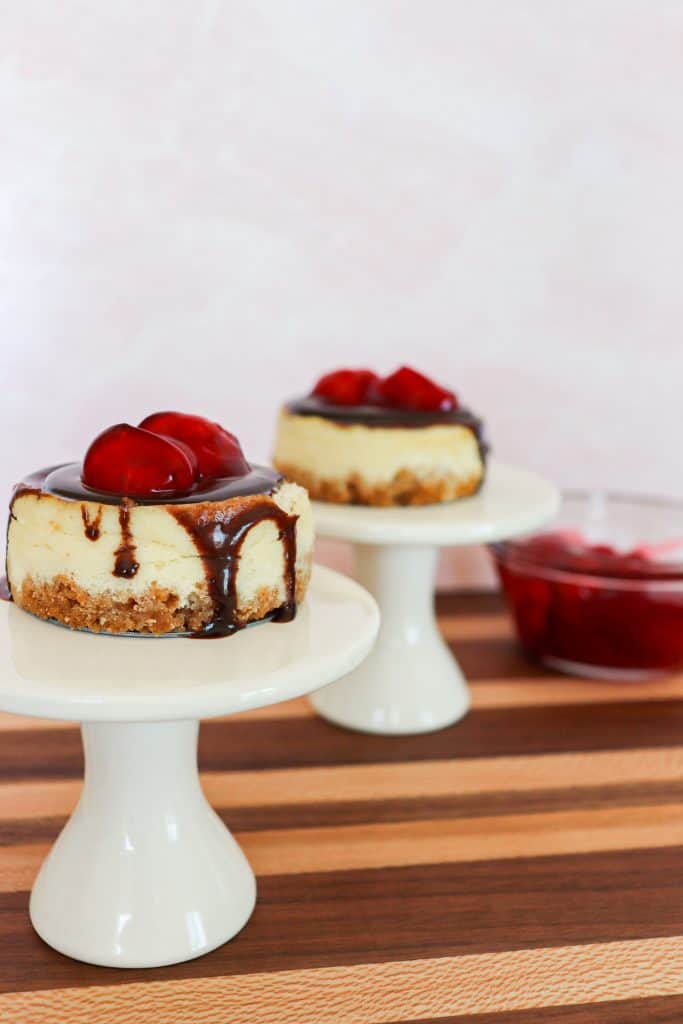
Our Chocolate Ganache Cheesecakes are delicious and easy-to-make desserts made in a muffin tin. These decadent treats feature a creamy, vanilla cheesecake base that’s perfectly balanced by a rich, chocolate ganache topping.
The best part? They’re individually portioned and easy to serve, making them an ideal dessert for any occasion. Whether you’re hosting a party or just looking to satisfy your sweet tooth, these Cheesecakes with Chocolate Ganache are sure to impress. So grab your muffin tin and get ready to indulge in a little slice of heaven!

Don’t you adore mini desserts? I’m such a fan because they look so pretty. Plus, I can eat sweets more moderately when I just have one or two of these 2-bite goodies. If you’re like me, you can also try these peanut butter Oreo cheesecakes with the most decadent peanut butter cheesecake filling! If you think something a bit lighter would be better, give this lemon sour cream snack cake a go! It’s a moist, lemon cake with the most perfectly sweet frosting.
What You’ll Love About this Recipe
- Bite-sized perfection: These mini cheesecakes are adorable and perfectly portioned, so they’re the perfect treat for sharing or enjoying individually.
- Easy and quick: With simple steps and basic ingredients, you can whip up these yummy desserts in no time.
- Versatile recipe: You can easily customize your cheesecakes with different toppings or experiment with different flavored crusts. You can easily make these mini cheesecakes look festive for all kinds of holidays and celebrations.
Substitutions
With a few little adjustments to this recipe, you can make holiday versions of these mini cheesecakes for just about any celebration. Make the recipe as directed, but when you’re ready to decorate, try these simple ideas:
Christmas Delight Cheesecakes:
- Topping: Garnish each mini cheesecake with a small candy cane for a festive, Christmasy touch.
- Additional Touch: Sprinkle some edible gold or silver glitter or sprinkles on top for a sparkling Christmas look.
4th of July Spectacular:
- Topping: Arrange a few blueberries and sliced strawberries on top for a red, white, and blue theme.
- Additional Touch: For extra pizzazz, dust the cheesecakes with a pinch of edible silver, blue, or red shimmer dust.
Birthday Bash:
- Topping: Colorful rainbow sprinkles or confetti sprinkles to add a burst of celebratory colors.
- Additional Touch: Insert a mini birthday candle into the center of each cheesecake for the bithday boy or girl to blow out.
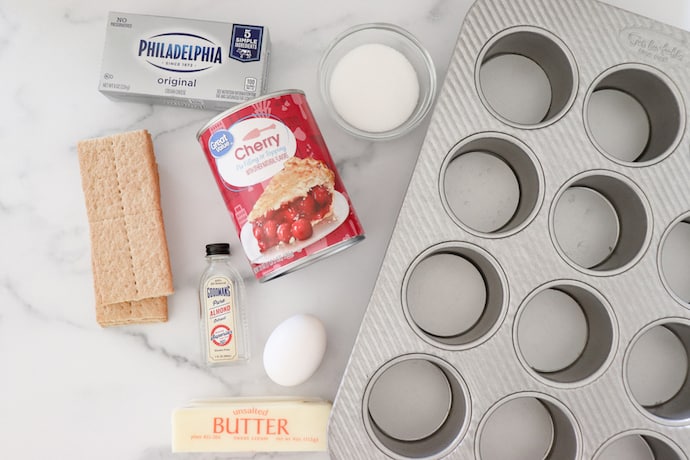
Ingredients
For the Crust:
- Graham cracker crumbs – You can use finely crushed Biscoff biscuits or Oreo cookies as alternatives.
- Melted butter – You may substitute with melted coconut oil or margarine.
- White sugar – Feel free to use brown sugar instead for a slightly different flavor profile.
For the Filling:
- Cream cheese – You can try using dairy-free cream cheese for a vegan version, but it may not make as creamy of a filling.
- Sugar – Any granulated sweetener, like coconut sugar or stevia, can be used in place of regular sugar.
- Eggs
- Almond extract – If almond extract is not available, you can use vanilla extract for a classic taste.
- Cherry pie filling (optional) – Experiment with other fruit pie fillings, such as blueberry or raspberry, for variety.
For the Ganache:
- Heavy cream – To make it vegan, swap for canned coconut cream or almond milk.
- Dark chocolate melting wafers – Use any type of chocolate chips or chocolate bars suitable for melting.
How To Make
STEP ONE: Preheat the oven. Preheat the oven to 350 degrees
STEP TWO: Prep the crust. In a mixing bowl, combine the graham cracker crumbs, melted butter, and sugar. Divide the mixture among the muffin tin. Press the crust firmly.
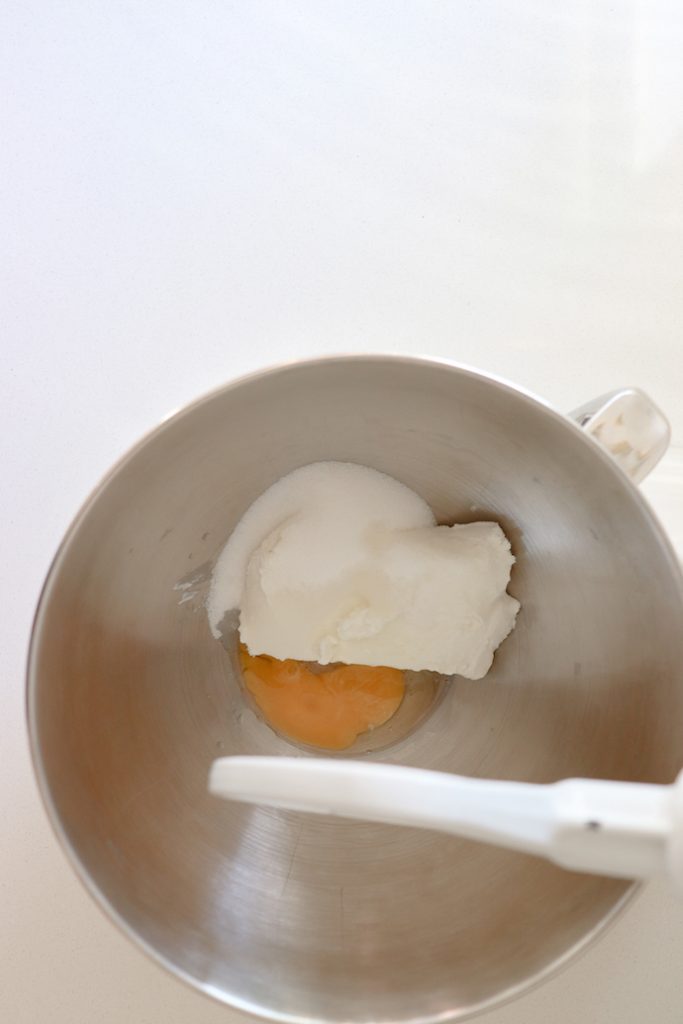
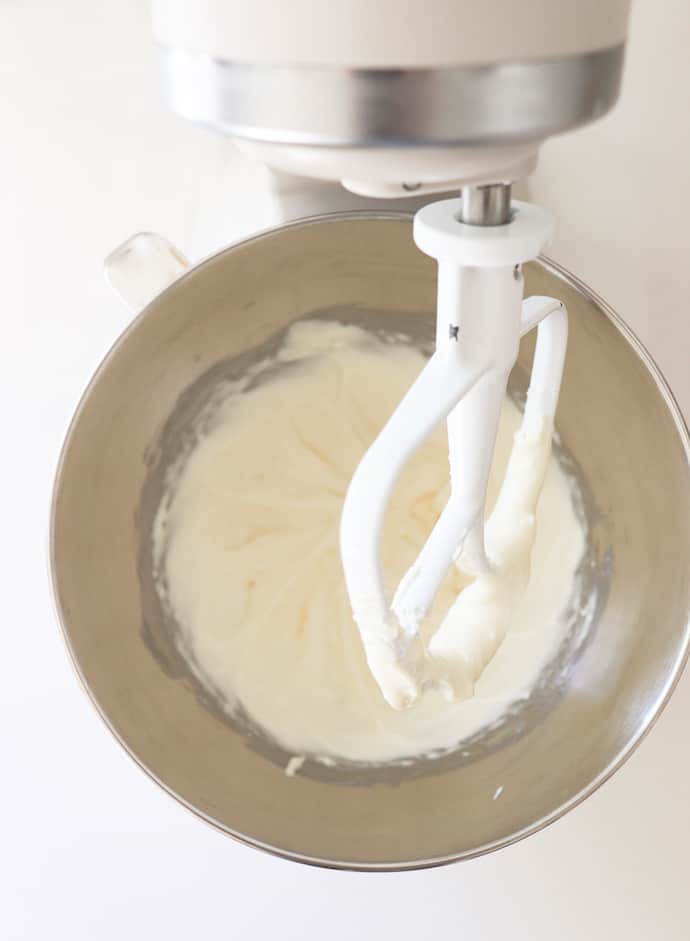
STEP THREE: Blend the cheesecake. In a bowl of a stand mixer combine the cream cheese, sugar, eggs, and almond extract until smooth and fluffy. Pour the cheesecake mixture into the crusts in the muffin tin.
STEP FOUR: Bake. Bake for 16-18 minutes or until the cheesecakes begin to brown. When finished baking, let the cheesecakes cool on the counter.
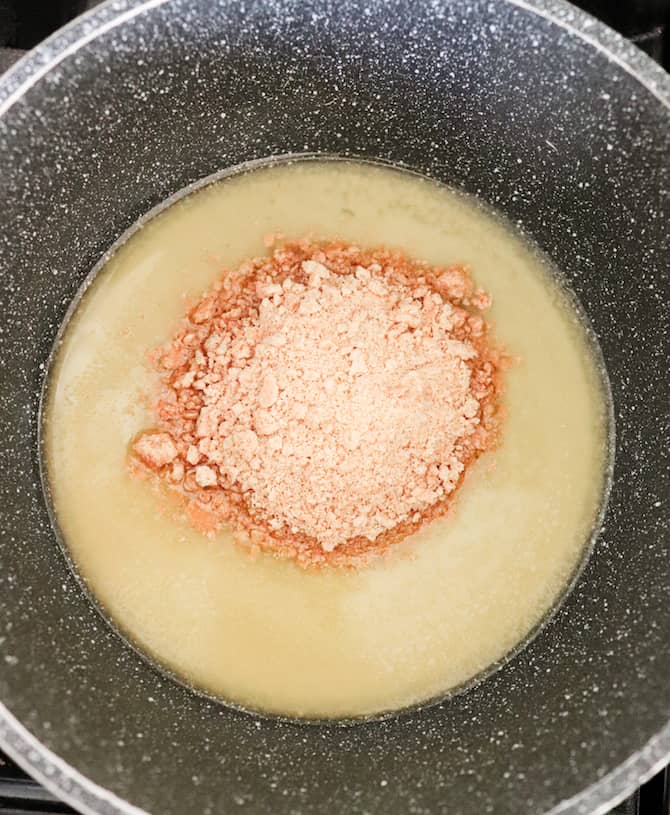
STEP FIVE: Make the ganache. Place the chocolate into a mixing bowl. In a saucepan, bring 1 cup of heavy cream to a simmer. Once you start to see it bubble a little, take it off the burner and pour it over the chocolate in the mixing bowl. Cover the bowl with foil and let it sit for 5 minutes.
STEP SIX: Whisk the ganache. Remove the foil and slowly begin whisking the chocolate until you see the velvety ganache form. Once the ganache forms, let it sit uncovered at room temperature for 15-20 minutes. It will thicken up a bit as it sits. It should be able to coat a spoon before you drizzle it over your cheesecakes.
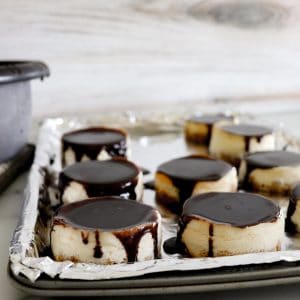
STEP SEVEN: Serve. Drizzle the ganache over the mini cheesecakes and top with 1 spoonful of the cherry pie filling if desired. Place into the fridge to set prior to serving.

Optional Toppings for Mini Cheesecakes
This recipe for 2-bite cheesecakes give you the option of putting some canned cherrie pie filling on top of chocolate ganache. However, you can easily switch up this recipe with some of your favorite things! Try:
- Fresh berries like raspberries, blueberries or strawberries
- Nuts – salted peanuts, candied pecans, or sliced almonds are especially gummy with the ganache.
- Caramel drizzle (especially if it’s a little warm)
- Chocolate shavings or broken up candy bars
- A touch of instant coffee powder on top of the ganache topping for a coffee-flavored twist
- Toasted, sweetened coconut flakes
- Crushed Oreos
- Chopped-up pretzel pieces
- Mini marshmallows
- Mini chocolate chips
- Whipped cream
Feel free to add your favorite dessert toppings!
Tips and Recipe Notes
- Make sure to press the crust firmly into the muffin tin to create a sturdy base for your mini cheesecakes. This helps to make sure they don’t fall apart when you eat them.
- Allow the cream cheese, eggs, and cream to reach room temperature before blending. You can leave them out on the cupboard for about 30 minutes before you begin mixing. This helps to make sure your batter isn’t lumpy, and comes out light and fluffy.
- To prevent cracks on the surface of the cheesecakes, don’t overbeat the batter after adding the eggs. Just mix until it’s incorporated.
- When making the ganache, use high-quality dark chocolate for the best flavor and texture.
- Let the ganache sit at room temperature for a few minutes after whisking. It will thicken up and get ooey gooey before you drizzle it over the cheesecakes.
- You can use a piping bag to apply the chocolate ganache on top of the cheesecakes if you wnat them to look uniform and extra pretty.
FAQs
Certainly! You can use the same recipe to make a traditional-sized cheesecake. Adjust the baking time accordingly. You’ll likely need to bake the cheesecake for 55-65 minutes at 350°F
The good news is, you don’t normally get too many cracks when you’re making mini cheesecakes. But to minimize the risk of cracks, avoid overbeating the cheesecake batter after adding the eggs.
Definitely! You can add lemon zest, cocoa powder, espresso, or even fruit purees to the cheesecake filling to give it different flavors.
The cheesecake is done when the edges are set and slightly puffed, while the center still has a slight jiggle. Avoid overbaking, as it can lead to a dry and cracked cheesecake.
How to Store Leftovers
If you have any leftover mini cheesecakes, you should be able to store them and enjoy for the a few more days.
In the fridge: Place the cheesecakes in an airtight container and refrigerate for up to 3 days.
Can I Freeze Leftovers?
Absolutely! Mini cheesecakes with chocolate ganache can be frozen for later. You can even make them ahead so you’ve got dessert ready for a special occassion. Just place the undecorated cheesecakes on a baking sheet and freeze until solid. Then, transfer the frozen cheesecakes to a freezer-safe container or Ziploc bag. Freeze for up to 2 months. They’ll just need an hour or two to thaw, but they’ll also taste pretty great frozen!
Can I Make This Recipe Ahead of Time?
Certainly! You can prepare these mini cheesecakes in advance so you have a hassle-free dessert ready to go. Just make the cheesecakes and store them in the refrigerator for up to 24 hours before serving. Prepare the ganache ahead of time and drizzle it over the cheesecakes just before serving. Of course, you can also freeze them if you’d like to serve them at a later date.
To Make These Cheesecakes Vegan
Vegan cheesecake is a bit of a delicate dessert. You can try making these mini cheesecakes vegan by using vegan cream cheese, coconut cream instead of cream, and vegan butter in place of the regular butter. For the eggs, you can use silken tofu. Just beat it separately until it’s completely smooth before you add it to your batter.
More Dessert Recipes
Chocolate Ganache Cheesecake Recipe
Ingredients
CRUST
- 1 cup graham cracker crumbs about 1 sleeve of graham crackers
- 3 tablespoons melted butter
- 1 tablespoon white sugar
CHEESECAKE
- 16 ounces cream cheese
- 1/2 cup sugar
- 2 eggs
- ½ tsp almond extract
- 1 can cherry pie filling optional
Chocolate Ganache
- 1 cup heavy cream
- 10 ounces dark chocolate melting wafers
Instructions
- Preheat the oven. Preheat the oven to 350 degrees
- Prep the crust. In a mixing bowl, combine the graham cracker crumbs, melted butter, and sugar. Divide the mixture among the muffin tin. Press the crust firmly.
- Blend the cheesecake. In a bowl of a stand mixer combine the cream cheese, sugar, eggs, and almond extract until smooth and fluffy. Pour the cheesecake mixture into the crusts in the muffin tin.
- Bake. Bake for 16-18 minutes or until the cheesecakes begin to brown. When finished baking, let the cheesecakes cool on the counter.
- Make the ganache. Place the chocolate into a mixing bowl. In a saucepan, bring 1 cup of heavy cream to a simmer. Once you start to see it bubble a little, take it off the burner and pour it over the chocolate in the mixing bowl. Cover the bowl with foil and let it sit for 5 minutes.
- Whisk the ganache. Remove the foil and slowly begin whisking the chocolate until you see the velvety ganache form. Once the ganache forms, let it sit uncovered at room temperature for 15-20 minutes. It will thicken up a bit as it sits. It should be able to coat a spoon before you drizzle it over your cheesecakes.
- Serve. Drizzle the ganache over the mini cheesecakes and top with 1 spoonful of the cherry pie filling if desired. Place into the fridge to set prior to serving.